Building a Simple App with OpenXR
This document describes how to build a Magic Leap 2 application using Unity.
Prerequisites
Creating a Scene
After setting up your project for the Magic Leap 2 and importing the ML Rig & Inputs package, create a new scene.
- Create a new Scene File > New Scene.
- Select the "Basic" template from the templates displayed onscreen.
- Delete the Main Camera from the scene.
- Locate the ML Rig prefab in
/Assets/Samples/MagicLeapSDK/<Version>/ML Rig & Inputsand drag it into the scene. - Select the ML Rig and in the Inspector, under XR Origin > Tracking Origin Mode select Device.
- Expand the ML Rig fully and select the Main Camera. In the Inspector under the Camera script, find the Clipping Planes values and lower the Near value to 0.25. For more information on the clipping planes, visit the Display Zone Overview guide.
- In the Unity menu, go to GameObject > 3D Object > Cube. This will add a cube to the scene.
- Click on the Cube in the Hierarchy, then find the Transform properties in the Inspector Panel.
- Set the cube's transform properties to:
- Position at 0, 0, 1
- Rotation at 0, 65, 0
- Scale at 0.25, 0.25, 0.25
- In Edit > Project Settings > XR Plug-in Management > Open XR > Enabled Interaction Profiles make sure the Magic Leap 2 Controller Interaction Profile is added to the list by clicking the "+" icon on the bottom right and selecting it from the dropdown.
- Using the top menu select: File > Save As.
Building to Device
When you are ready to deploy your application to the device, you can use the Build And Run feature of Unity. Make sure you've followed all the setup instructions in the Configure Project Settings guide. Follow the steps below to deploy your application to the device.
- Connect and power on the device.
- Open the Build Settings, File > Build Settings.
- Add your current scene by dragging the scene from the Project panel to the Scenes in Build or clicking on Add Open Scenes.
- If you have more than one scene in the list, uncheck all except the one you want to build.
- Press Build And Run and select a location and name for the application (.apk)
- Wait for Unity to deploy the application.
- Put on the device and look around to find the cube.
- Note: The cube may be behind you depending on the orientation of the device on boot.
You may encounter the following pop-up regarding the Android SDK while building:
- Windows
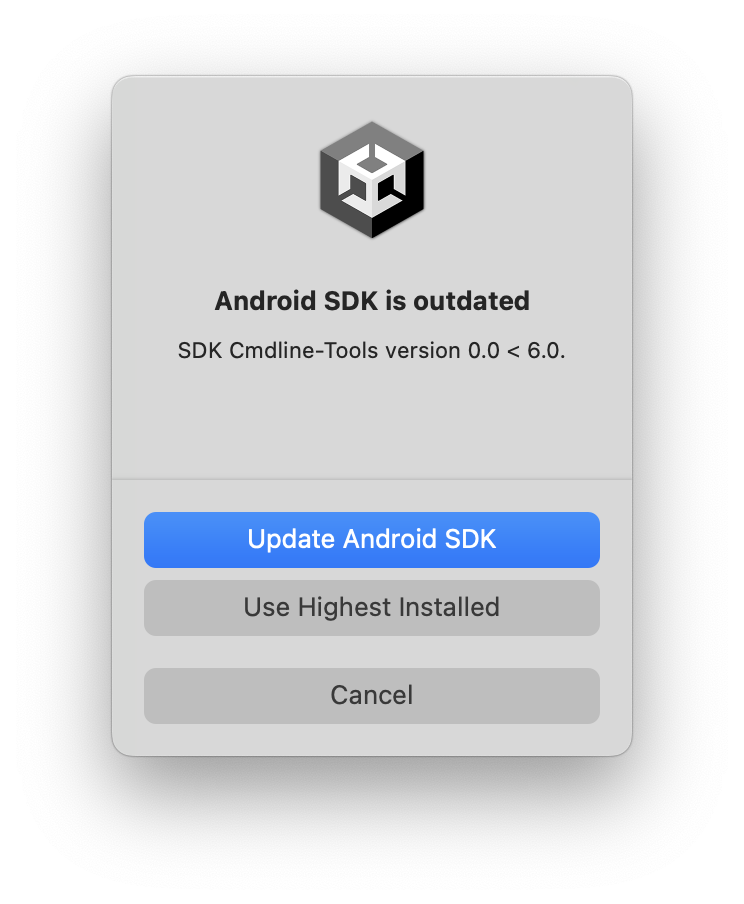
- MacOS
"Android SDK is outdated" Pop-up
You may get a pop-up that shows that the Android SDK is outdated when clicking Build. Select Use Highest Installed.
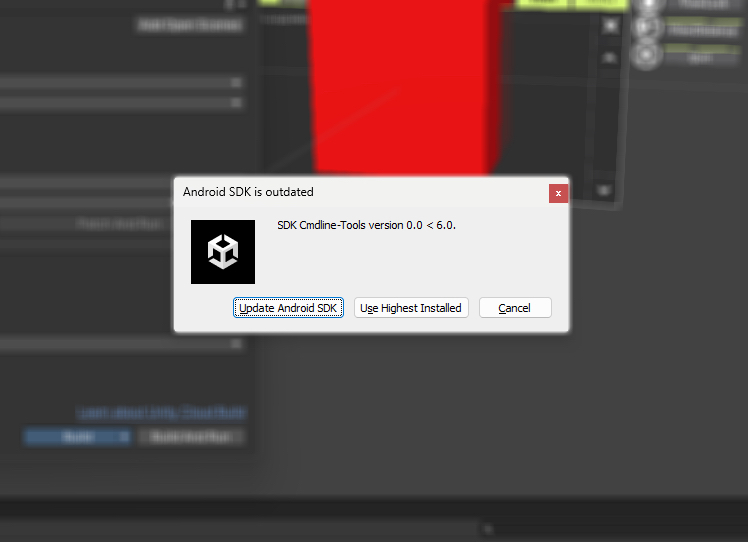
"Android SDK is outdated" Pop-up
You may get a pop-up that shows that the Android SDK is outdated when clicking Build. Select Use Highest Installed.