Enable Developer Mode
This guide provides a step-by-step walkthrough to enable Developer Mode on Magic Leap 2. The process involves unlocking the hidden Developer Options by tapping the "Build number" seven times. The newly enabled Developer Mode offers a range of advanced settings and tools that are typically hidden from average users, mainly used for debugging and application development purposes.
Enabling Developer Mode
Open the Settings app.
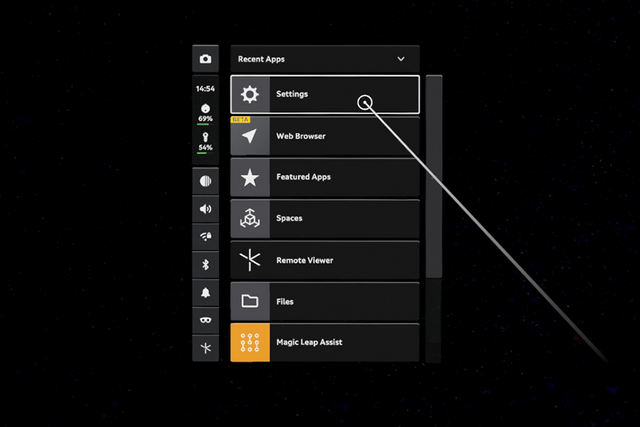
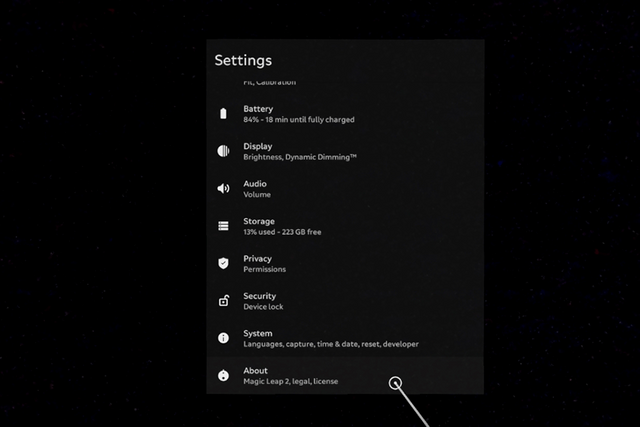
Setting app in the OS menu Scroll down and select About.
- Find the section titled Build number on the bottom of the page.
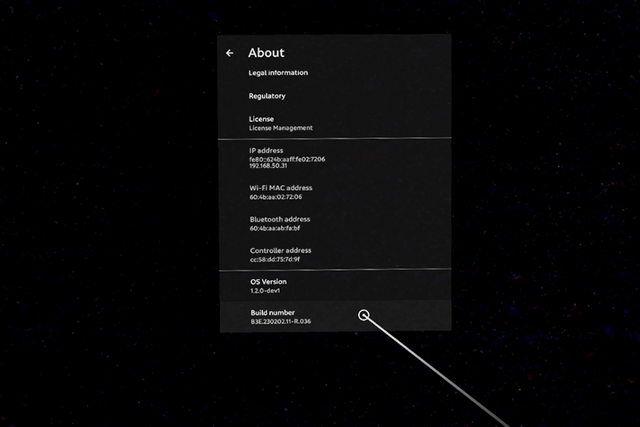
- Click on Build number seven times.
- After a few clicks, you will see a countdown message saying, "You are 'X' steps away from becoming a developer," with 'X' representing the number of remaining clicks
- After the seventh tap, you'll see a message saying, "You are now a developer!" or "Developer mode has been enabled"
Enable USB Debug Mode
Before you can use the debugger and other tools, you need to enable USB debugging. To enable it, do the following:
Turn on your Magic Leap 2 (ML2) headset and controller.
When the menu opens on your ML2 headset, click Settings.
In the Settings menu, choose System.
In the System menu, click Advanced. This shows you additional choices.
Click Developer options.
On the Developer options menu, scroll down to the Debugging section and toggle the USB debugging button to the right. This turns on USB debugging.
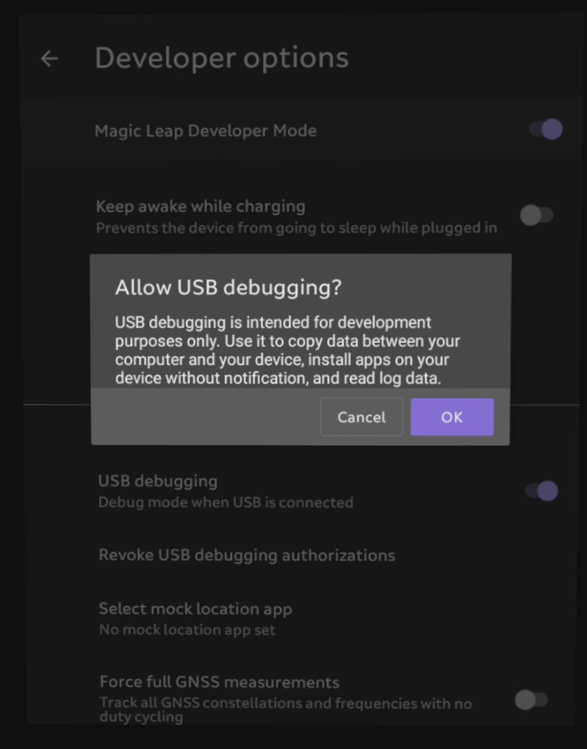
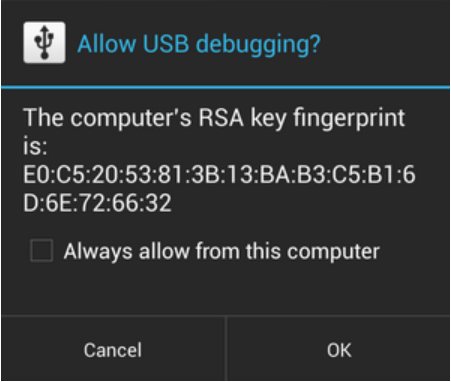
- When you connect your headset to your computer, you will now be presented with a prompt. In the headset, choose to enable the USB debugging option.
For more information, see the Android Developers Page on enabling Developer options.
USB Tethering
You may need to connect your device directly to your computer when troubleshooting. To set up USB tether, do the following:
Make sure your Magic Leap 2 Compute Pack and Controller are charged up - the USB connection to the computer is not enough to power it.
Connect your Compute Pack to your computer using a USB cable.
Put on your Magic Leap 2 headset and power on your Compute Pack and controller.
When your device starts up, it should recognize you're connected via USB. You're presented with a menu of choices:
- File Transfer / ML Hub Connectivity Media Transfer Protocol (MTP)
- PTP Picture Transfer Protocol
- USB Tethering Use connected device for network access
- No Data Transfer
For this walkthrough, choose USB Tethering and click OK. (The other setting that you use most is File Transfer / ML Hub Connectivity Media Transfer Protocol (MTP).)
On your computer you get a panel that appears labeled Networks. You're asked if you want to allow your PC to be discoverable by other PCs and devices on your network. Click Yes.
On your Magic Leap 2 headset, from the menu choices, use the controller to click Settings.
Under Settings, use the controller to select Network & Internet.
In the Network & Internet menu, choose Hotspot & tethering.
On the Hotspot & tethering screen, make sure USB tethering is turned on by pushing the switch to the right.
Your device is now connected and you should be able to see it on your network.