Create an App Using Unreal Engine 5
This guide shows you how to use Unreal Engine to create a simple OpenXR app for Magic Leap 2 devices.
Prerequisites
You’ll need the Magic Leap version of Unreal Engine 5.3, which is in the Magic Leap fork of the Epic Games GitHub repository, with the Magic Leap 2 Unreal SDK. We showed you how to build that in Getting Started with Unreal Engine.
Begin the project and configure default settings
Open the Unreal Editor. If you followed the instructions in Getting Started with Unreal Engine, the executable file is located in the
UnrealEnginefolder at\Engine\Binaries\Win64\UE5Editor.exe.In the project browser, choose Games as your development category. Choose Blank as your template.
Configure the project defaults:
- Select Blueprint if you want to build your project in the Unreal Editor and use the Blueprint Visual Scripting system to create interactions and behavior.
- Select C++ if you want to build your project with C++ in Visual Studio.
- Set Mobile as your target platform.
- Set Scalable as your quality preset.
- Make sure Started Content and Raytracing are unselected.
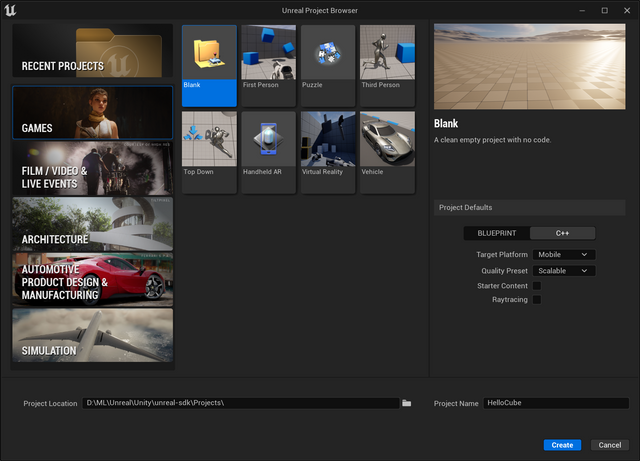
Configure project defaults in the project browser If you chose Blueprint as your implementation, click Create.
If you chose C++ as your implementation, save, compile, and run the resulting project. For more information on compiling projects, see Compiling Code Projects in the Unreal Engine 5 documentation.
The Unreal Editor closes the project browser and opens the level editor.
Create a level and add content to it
In the level editor, choose File > New Level > Empty Level. Click Create.
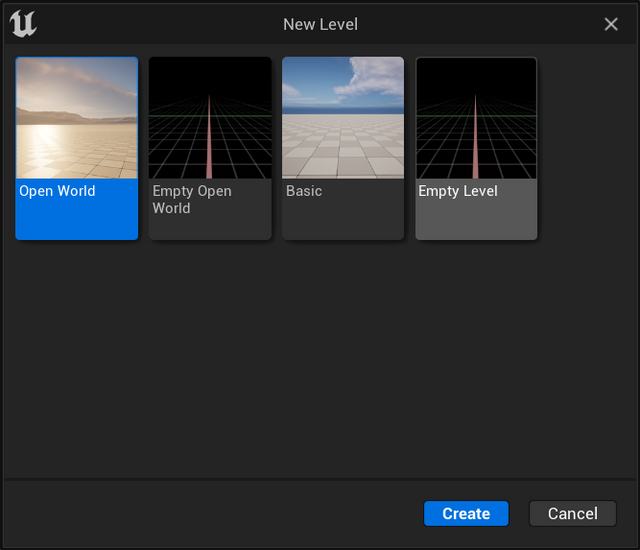
Create a new level in the level editor If you don’t see the Place Actors window, choose Window > Place Actors.
Click the lightbulb icon to see the list of lights. Drag a sky light into your level from the Lights menu.
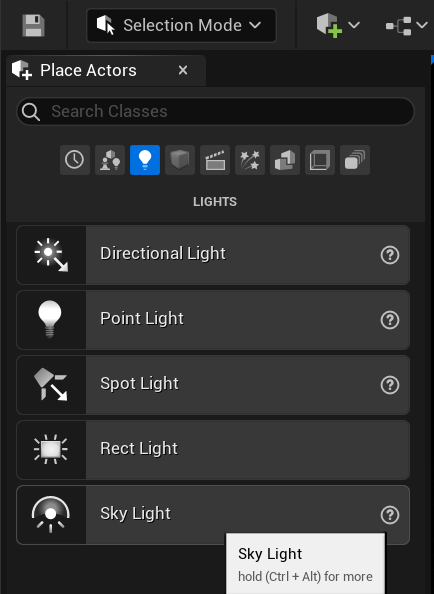
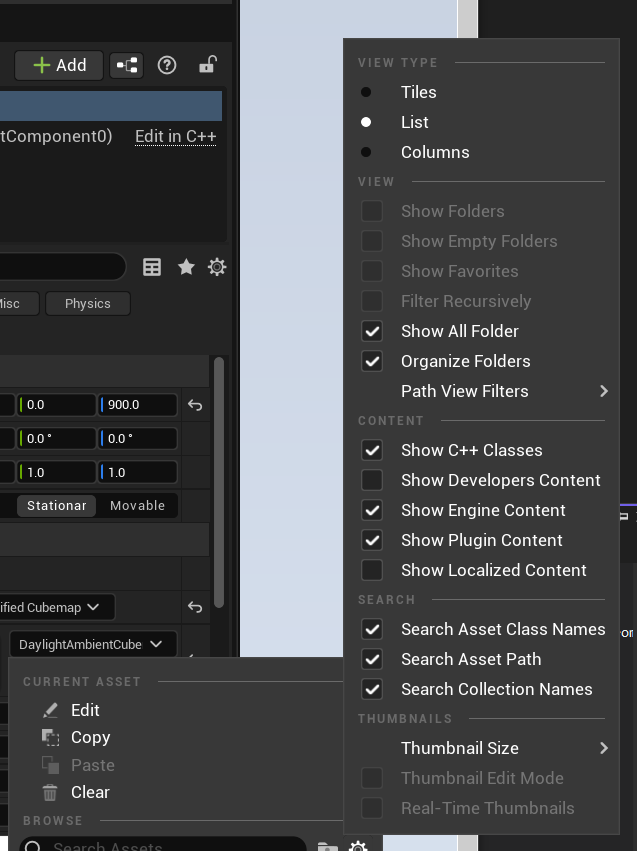
Select a sky light from the Lights menu In the Outliner, select the sky light instance that you just added. In the Details panel, set the source type to SLS Specified Cubemap and set the cubemap to DaylightAmbientCube.
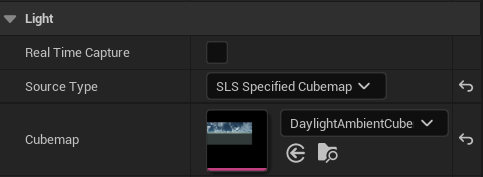
Set the sky light's details in the Details panel
If DaylightAmbientCube doesn’t appear in the drop-down menu, click the gear icon and check Show Engine Content.
In the Place Actors menu, click the cube icon to see the list of shapes. From the Shapes menu, drag the cube into your level.

Select a cube from the Shapes menu In the Outliner, select the cube instance that you just added. Set the cube’s location to 300, 0, 0 and its scale to 0.5, 0.5, 0.5. In the Details panel, click +Add to add a component. Add a RotatingMovement component.

Add a RotatingMovement component to the cube instances in the Details panel In the Details panel, select the StaticMeshComponent of your cube instance and change its Mobility setting to Movable.
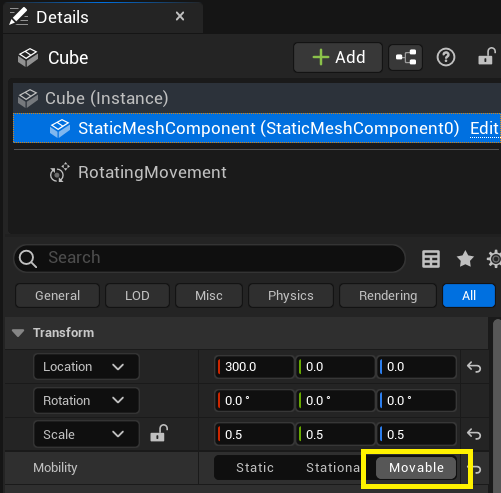
Set the StaticMeshComponent to Movable in the Details panel In the Place Actors menu, drag the player start into your level from the Basic menu. Set its location to 0, 0, 0.
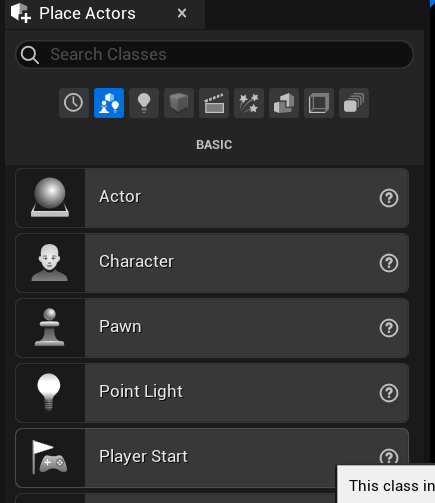
Select a player from the Basic menu
Save the project map and create blueprints
In the project browser, choose File > Save Current Level As. Give your map a name. For example, MyHelloCube.
Click the Content Drawer button to open the Content Drawer.
Right-click the Content panel. In the Create Basic Asset menu that appears, select Blueprint Class > Pawn. Name the blueprint XrPawn. With XrPawn selected, press CTRL+S to save.
Right-click the Content panel. In the Create Basic Asset menu that appears, select Blueprint Class > GameModeBase. Name the blueprint XrGameMode. With XrGameMode selected, press CTRL+S to save.
Add a camera
Double-click the XrGameMode blueprint you created and saved. The Unreal Editor opens the asset either as data or in the full Blueprint editor.
In the Details panel, under Classes, set the Default Pawn Class to XrPawn. Compile, save, and close the XrPawn blueprint. You can compile and save from the File menu or the main toolbar.
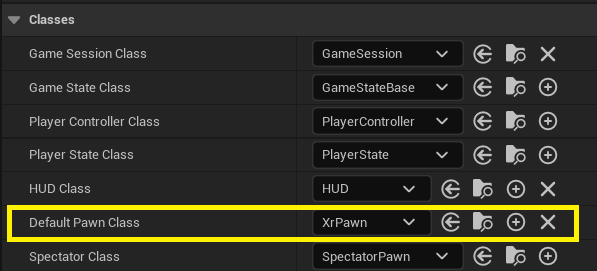
Set the default pawn class in the Classes menu In the Content panel, double-click the XrPawn blueprint. This opens the full blueprint editor.
In the Components tab of the blueprint editor, select DefaultSceneRoot. Click +Add and add a Camera component.
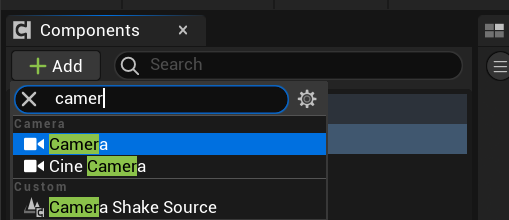
Add a camera in the Components panel With the Camera component selected, click +Add again and add a Capsule Collision component.
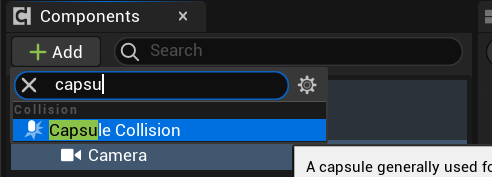
Add a capsule collision to the camera component in the Components panel You hierarchy should now look like this:
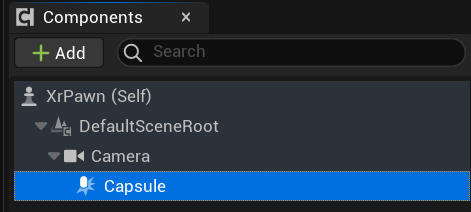
Your hierarchy in the Components panel With the capsule selected, in the Properties panel:
- Set the capsule Z to -60
- Set the half height to 85
- Set the radius to 22
Compile, save, and close the XrPawn blueprint.
Click the Play In Editor button to make sure that everything in the scene is set up correctly. You should see the lit, white-textured cube spinning 3 meters in front of your spawn point.
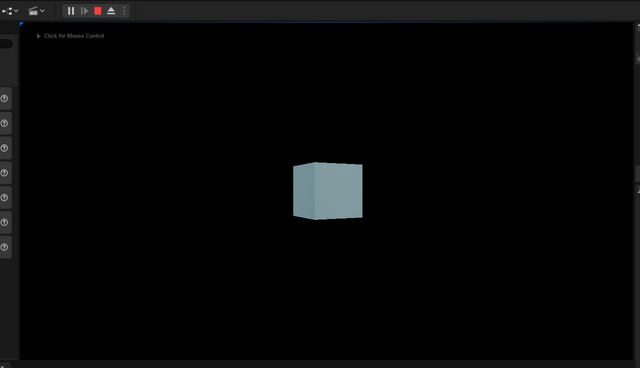
This is what your app should look like in Play in Editor Stop the Play in Editor before you continue.
Configure project settings and package the project
In the Unreal Editor main menu, select Edit > Project Settings.
In the project settings window, go to Maps & Modes. Under Default Maps, set Editor Startup Map and Game Default Map to the project map that you created.

Set the default maps setting for your project in Project Settings Under Default Modes, set Default GameMode to XrGameMode, the game mode base blueprint you created.

Set the game mode base in Project Settings From the main Unreal Editor menu, select Edit > Plugins. The plugins menu opens. Select Augmented Reality.
Under Augmented Reality:
a. Disable the Magic Leap plugin, if it is enabled. If you see a message saying other plugins have to be enabled, click Yes to disable those plugins.
b. Enable Magic Leap OpenXR if it is not enabled.
c. If you made changes, you’ll be prompted to restart the Unreal Editor. You can make both changes before restarting. Click Restart Now to restart the Unreal Editor if prompted.
d. Close the plugins window.
In the Unreal Editor main menu, select Edit > Project Settings. In the Project - Description list, go to Settings. Select Start in VR.
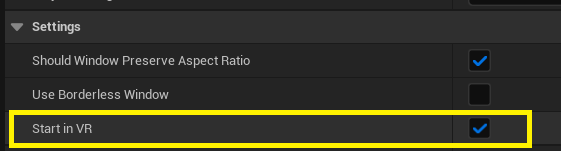
Enable Start VR in Project Settings Under Project Settings, go to Platforms and select Android. Under Android, go to APK Packaging. Click the Configure Now button in the red box.

Configure your project for the Android platform in Project Settings The red box turns green.
Under APK Packaging, select Package game data inside .apk.

Set .apk packaging in Project Settings Under Android, go to Build. Under Build, set these options:
- Deselect Support arm64 [aka arm64-v8a].
- Select Support x86_64 [aka x64].
- Deselect OpenGL ES3.2.
- Select Support Vulkan.

Set build options in Project Settings Under Android, go to Launch Images. Under Launch Images, deselect Show launch image.
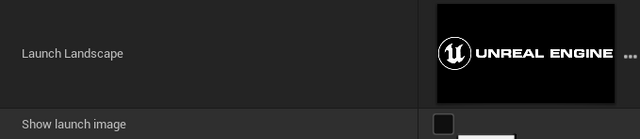
Disable showing launch image in Project Settings Under Android, go to Multi Texture Formats. Under Multi Texture Formats, set these options:
- Deselect Include ETC2 textures.
- Select Include DXT textures.
- Deselect Include ASTC textures.

Set multi-texture formats in Project Settings Close the project setting window.
Build the package
In the Unreal Editor main toolbar, select Platforms > Android. Select Android (DXT).
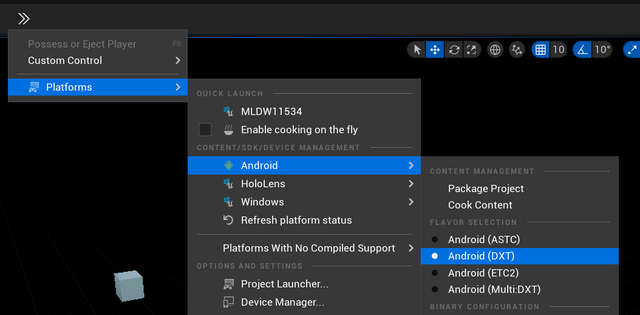
Set the build platform to Android (DXT) Select Package Project.
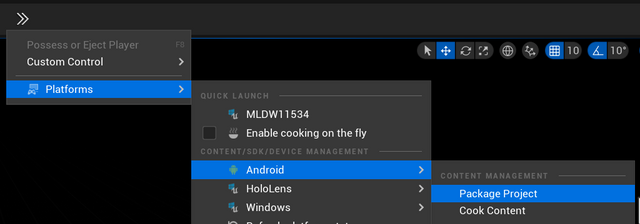
Select Package Project In the dialog window that appears, choose where to store your built files and save.
Deploy the app
After your app is built, you can deploy it using the .bat file saved to your build location.
Explore more examples
Examples for the Controller, hand interactions, marker tracking, and planes are available to download from the Magic Leap Hub, as part of the Unreal bundle. After you download them, these can be accessed from the unreal-sdk\Projects\Examples\Example.uproject file. To access them, open the file in Unreal Engine, select File > Open Level, and go to the Levels folder.